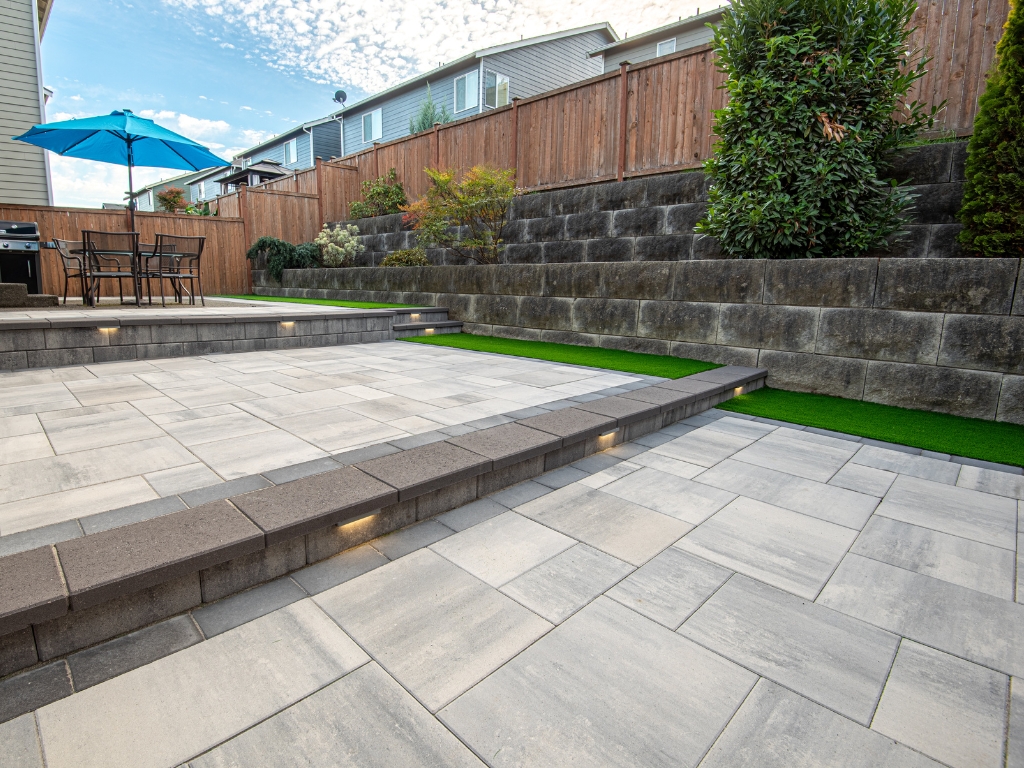
A paver patio is one of the best upgrades you can make to your backyard. But there’s one detail many homeowners overlook: drainage.
Without proper drainage, that beautiful patio can turn into a soggy, uneven mess. Water can pool, pavers can shift, and in the worst cases, you can even end up with damage to your home’s foundation.
Let’s go over the most common drainage mistakes in paver patio installation and what you can do to prevent — or fix — them.
Why Drainage Makes or Breaks Your Patio
Water is your patio’s biggest enemy. If it can’t flow away, it will find a way to cause trouble.
- Standing water weakens the base and makes pavers sink over time.
- Erosion washes away the sand layer under the pavers.
- Damp areas invite mold and algae, making your patio slippery.
- Poor drainage can even send water back toward your house.
A good installation plans for water flow from the start. That means getting the slope right, using the right materials, and keeping everything maintained.
 807 4198 paver patio installation")
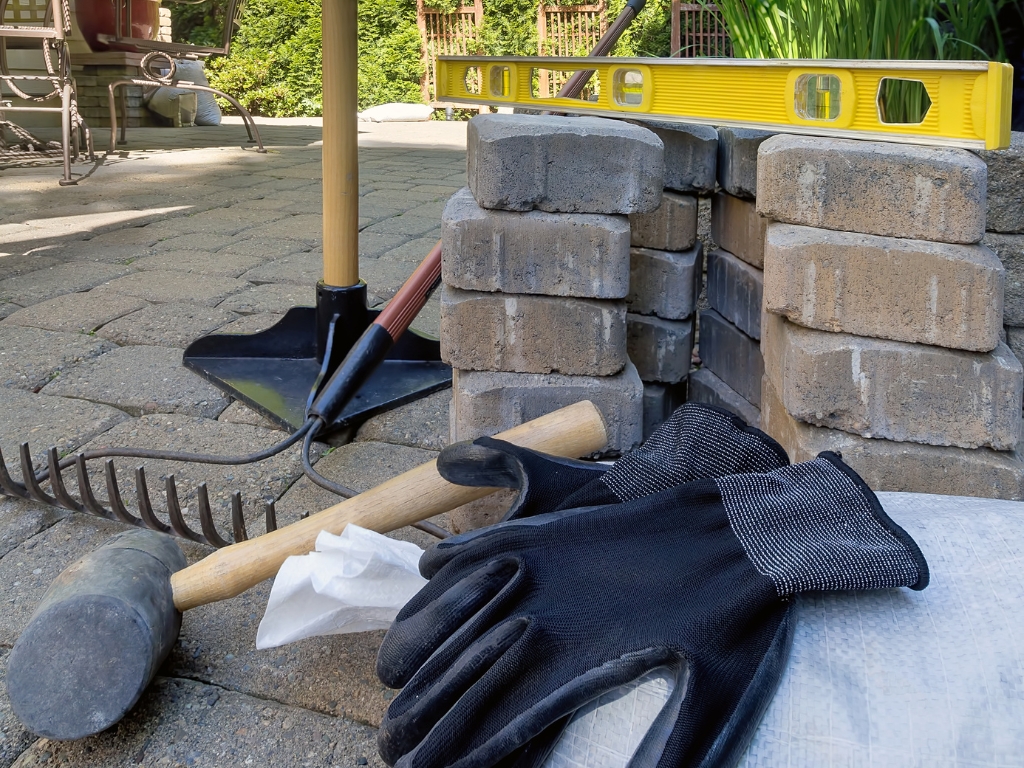
Error #1: Ignoring the Slope
One of the most common mistakes during paver patio installation is forgetting about slope. A flat surface might look neat, but it leaves water with nowhere to go. Over time, that standing water will seep into the base, cause pavers to sink, and might even lead water toward your home’s foundation.
What’s the Fix?
- Slope the patio about 1/4 inch per foot away from the house.
- Use a long level or laser level to confirm the slope during installation.
Error #2: Skipping the Base Prep
Many drainage problems start with poor base preparation. When pavers are installed directly over soil or just a thin layer of sand, water collects under the surface. This weakens the base and makes pavers shift and settle unevenly. A weak base also means more maintenance and repairs later.
What’s the Fix?
- Excavate 6–8 inches to create space for a base.
- Add crushed stone in layers and compact each layer thoroughly.
- Spread bedding sand on top before laying pavers to create a smooth surface.
Error #3: Forgetting Edge Restraints
Edge restraints might seem like a small detail, but they play a big role in keeping your patio stable. Without them, pavers slowly move outward over time, leaving gaps where water collects and erodes the base. This makes drainage less effective and shortens the life of your patio.
What’s the Fix?
- Install plastic or metal edge restraints around the perimeter.
- Secure them with spikes driven into the compacted base.
Error #4: Poorly Placed or Missing Drains
Even with proper slope, some patios still need drains, especially large patios or those in areas with heavy rain. Skipping this step means water has no exit point, which causes pooling and soft spots. Drains that are installed in the wrong spot can also trap water instead of moving it away.
What’s the Fix?
- Install channel drains or surface drains at the lowest point of the patio.
- Direct water to a safe runoff area or a dry well.
- Clean drains regularly to prevent clogs.
Error #5: Using the Wrong Joint Sand
The material between your pavers affects how water flows through your patio. Using regular sand can be a mistake because it easily washes away during heavy rain. This leaves gaps, which let more water reach the base and cause instability.
What’s the Fix?
- Use polymeric sand for the joints.
- Sweep it into the gaps and mist with water to harden it in place.
Error #6: Not Considering Surrounding Landscaping
Patio drainage doesn’t exist in isolation. Water from the rest of your yard — mulch beds, downspouts, or higher ground — can flow right onto your patio. This extra water load can overwhelm your drainage system and lead to erosion.
What’s the Fix?
- Regrade the nearby soil so it slopes away from the patio.
- Install swales or French drains if water flow is heavy.
- Use gravel or ground cover in beds to slow runoff.
Error #7: Skipping Maintenance
Even the best patio design won’t last forever without proper upkeep. Over time, polymeric sand breaks down, pavers settle, and drains collect debris. If you ignore these changes, drainage stops working and problems get worse.
What’s the Fix?
- Refill joints with polymeric sand every few years.
- Relevel low spots by lifting and resetting pavers.
- Clear debris from drains and gutters to keep water moving.
Takeaways for Homeowners
If you’re planning a paver patio installation, don’t just focus on how it looks. Think about how it handles water.
- Plan for a proper slope.
- Build a solid, permeable base.
- Add edge restraints and drains where needed.
- Maintain it regularly so it keeps working the way it should.
Doing it right the first time saves you money and frustration later.
When It’s Time to Call the Pros
If you already see water pooling, pavers sinking, or water flowing toward your house, it’s worth getting expert help.
Eli’s Paver Patios knows how to design patios with proper drainage from day one. A professional can inspect your base, slope, and surrounding yard to keep your patio solid for years to come.